Index
Home
Blog
About
Advertise
Subscribe!
Contact
Navigation
Index
Home
Blog
About
Advertise
Subscribe!
Contact
Home
Featured
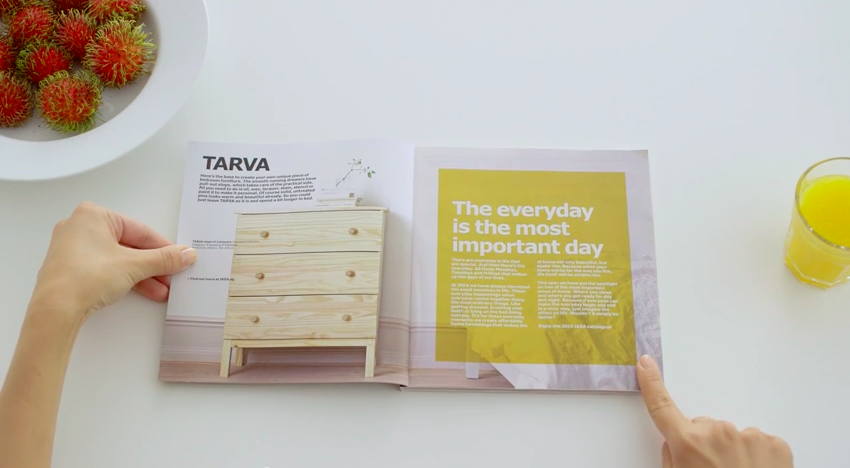
It's a book book.
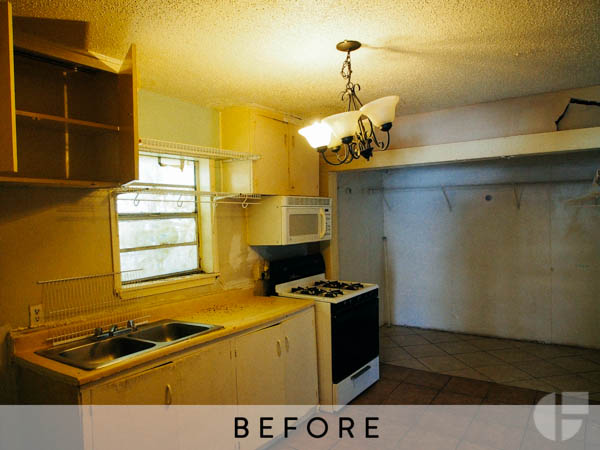
Blackshear Project : Before & After
Loeser Bettels
Please DON'T connect the dots
Coin
Damm Design
León León
Boxcar Planter
Hurray Hurray
Hello Austin, hello new job
CB2 goes grassroots
Studio DUNN
PHLOEM STUDIO
Volk ICFF 2013
A new (temporary) home.
DJ Dance Party this Sat!
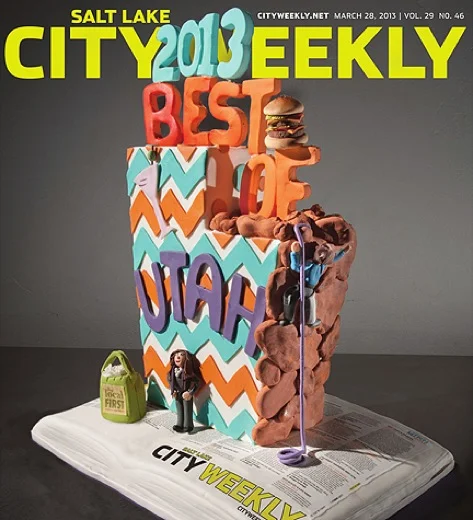
City Weekly Best Of (and my local favs)
Furni Kendall
Penta Hex Bottle Opener
Aark Watches
Egyptian Stool
Jimmyjane Touch
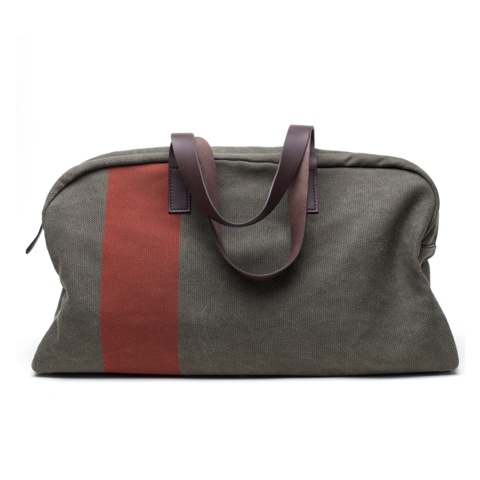
Weekender Masonry bag
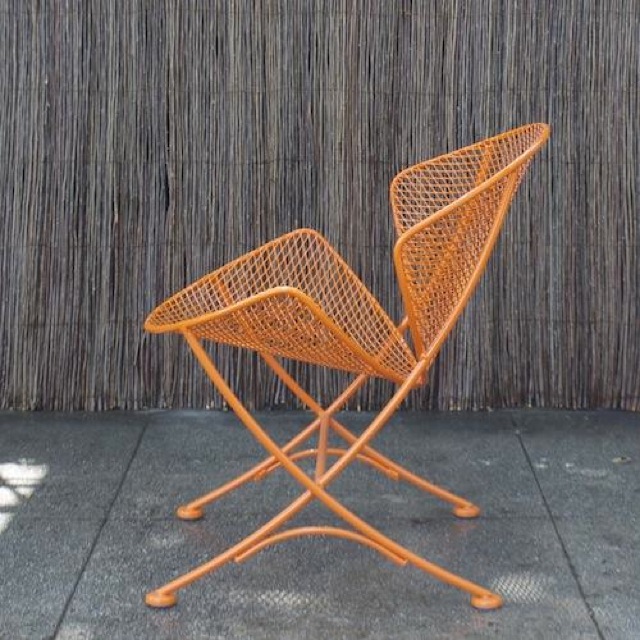
Clam Chair
My Chelsea Sofa gets a new life
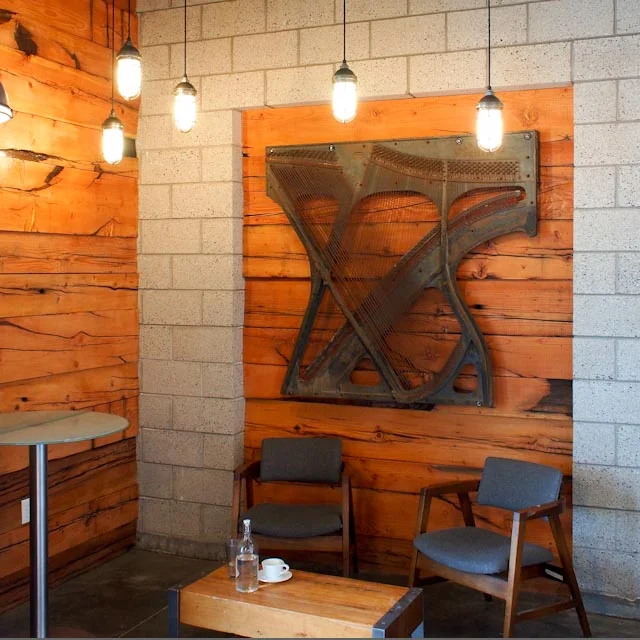
Nobrow coffee & Tea
Arch Daily Movie Roundup
Kickstarter :: Okum Made
Everlane Weekender
Model No. 1 Comb
MORE
Please excuse me while I pay some bills...